Quick Start Guide
Quick Start
Section titled “Quick Start”An HTTP API for interfacing with a local Cardano Node and providing the node internal data for HTTP clients. This service communicates with a Cardano full node using the Ouroboros network protocol via a UNIX socket and exposes the underlying Node-to-Client (NtC) Ouroboros mini-protocols to clients via a REST API or UTxO RPC gRPC API.
Cardano Node API is a service written in Go which communicates with a Cardano Node over its private interface and provides a featureful set of HTTP APIs built on collaborative standards.
Simply download the Cardano Node API binary file from blinklabs.io on to your node server. Then run Cardano Node API in the server command line. Configuration can be done using a config file or setting environment variables. In this example we will run it with a config file.
To get started follow the steps below
⚠️ This guide assumes typical Linux Cardano Node setup. Please adjust commands and paths as needed.
Step 1 - Download binary from Blinklabs
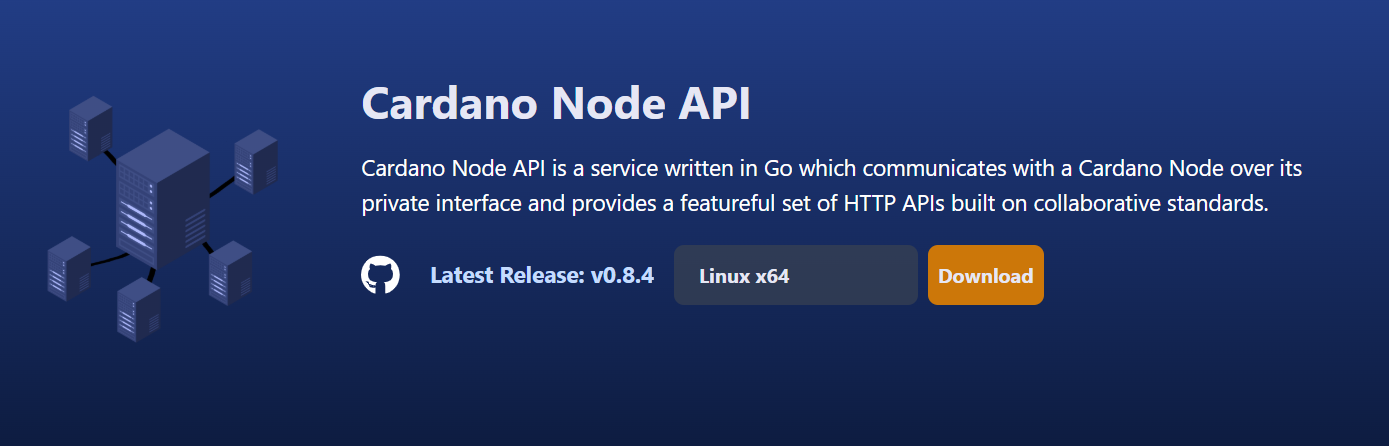
Section titled “Step 1 - Download binary from Blinklabs”Step 1-A - First start by going to https://blinklabs.io/projects-open-source and scroll down to Cardano Node API.
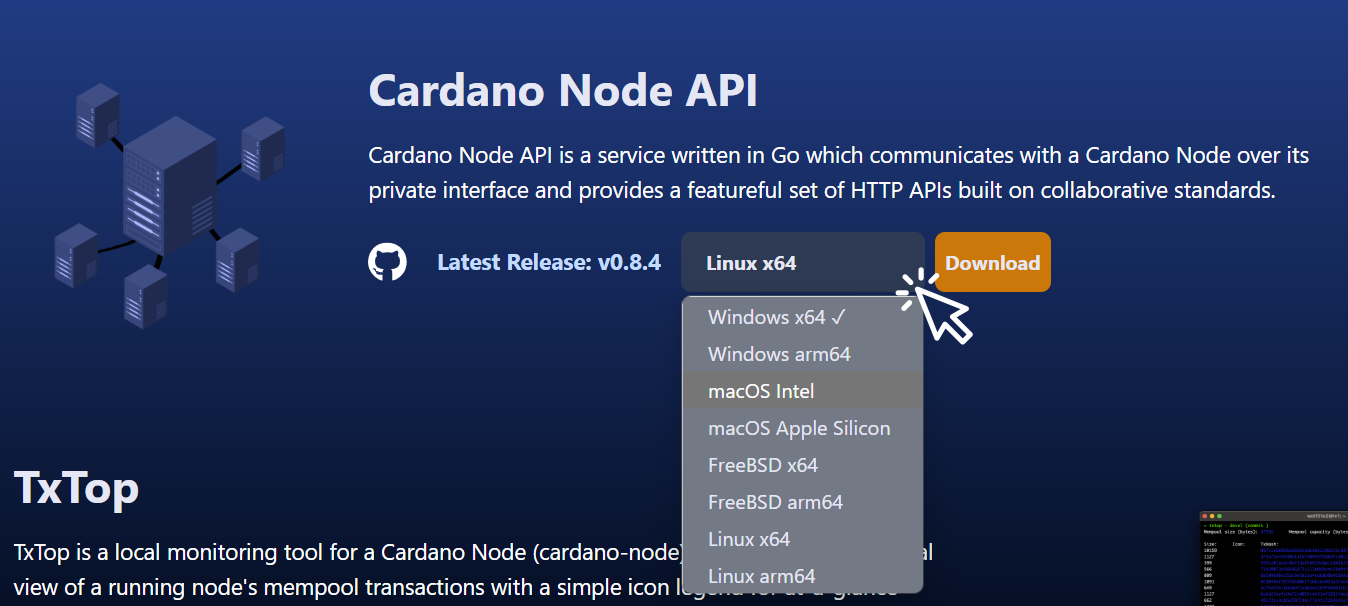
Step 1-B - Select the operating system of your node server.
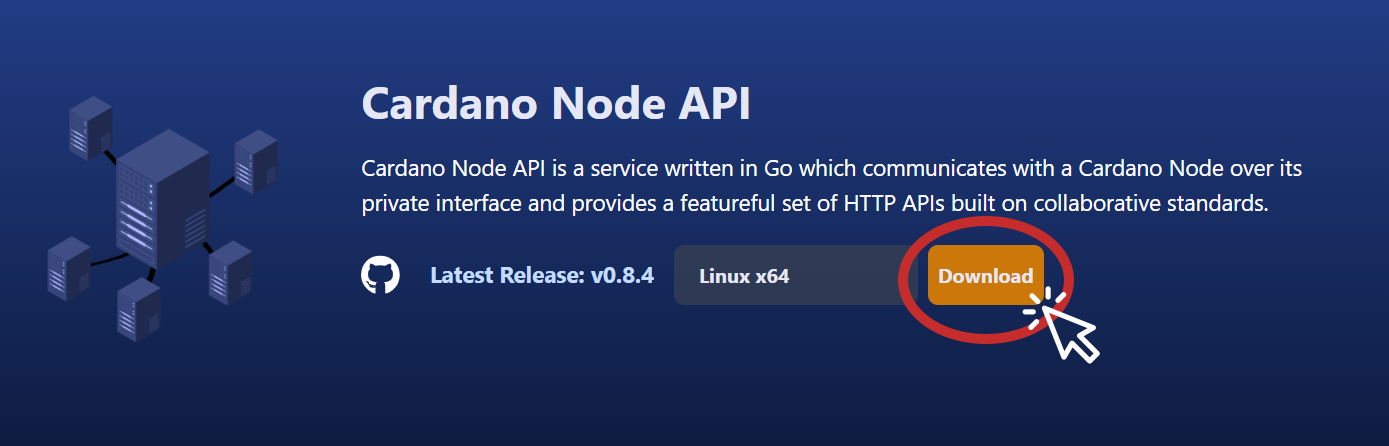
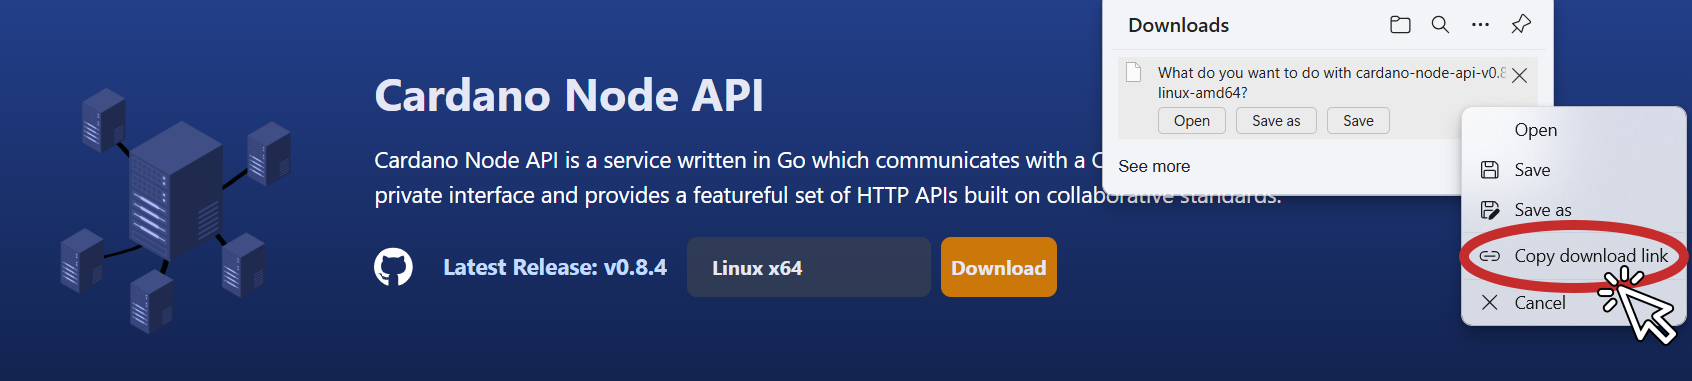
Step 1-C - You can either download the binary file and move the file to your node server or…
Copy the path from Blinklabs and run the following command to download the binary file on your node server
⚠️ Adjust the link path to the correct path for the version you want to download.
💡 Tip: You can download the latest Cardano Node API release from the https://github.com/blinklabs-io/cardano-node-api/releases page.
wget -O - https://github.com/blinklabs-io/cardano-node-api/releases/download/v0.9.0/cardano-node-api-v0.9.0-linux-amd64 > cardano-node-apiStep 2 - Change Permissions
Section titled “Step 2 - Change Permissions”For this example, we named the binary file cardano-node-api and saved the file to our $NODE_HOME folder. To make the file executable run the following command:
⚠️ Adjust the file path and file name if needed.
chmod +x $NODE_HOME/cardano-node-apiStep 3 - Open Firewall to your Selected Port
Section titled “Step 3 - Open Firewall to your Selected Port”Make sure your firewall is open on the port you selected. For this example, we used port 8080. To open the port on 8080 we run the following command:
sudo ufw allow 8080/tcpStep 4 - Setup Config File
Section titled “Step 4 - Setup Config File”Sample config.yaml:
node: network: mainnet port: 8080 socketPath: /home/user/cardano-my-node/db/socket💡 Tip: To find the path to your node socket run the following command:
echo $CARDANO_NODE_SOCKET_PATHA detailed breakdown of the configuration file can be found here: https://github.com/blinklabs-io/cardano-node-api/blob/main/config.yaml.example
Step 5 - Run Cardano Node API With Config File
Section titled “Step 5 - Run Cardano Node API With Config File”Run the executable file by running the following with the command line flag -config to set the file to load as a configuration.
⚠️ Adjust the file path below to match your path to the config.yaml file.
cd $NODE_HOME./cardano-node-api -config /path/to/config.yaml💡 Tip: You can hit control+z and then type bg to run in the background. Hit fg to bring back to the foreground
💡 Tip: You can check the Cardano Node API by going to your IP:port/swagger/index.html. Please adjust IP and your port if needed.
http://192.0.2.0:8080/swagger/index.html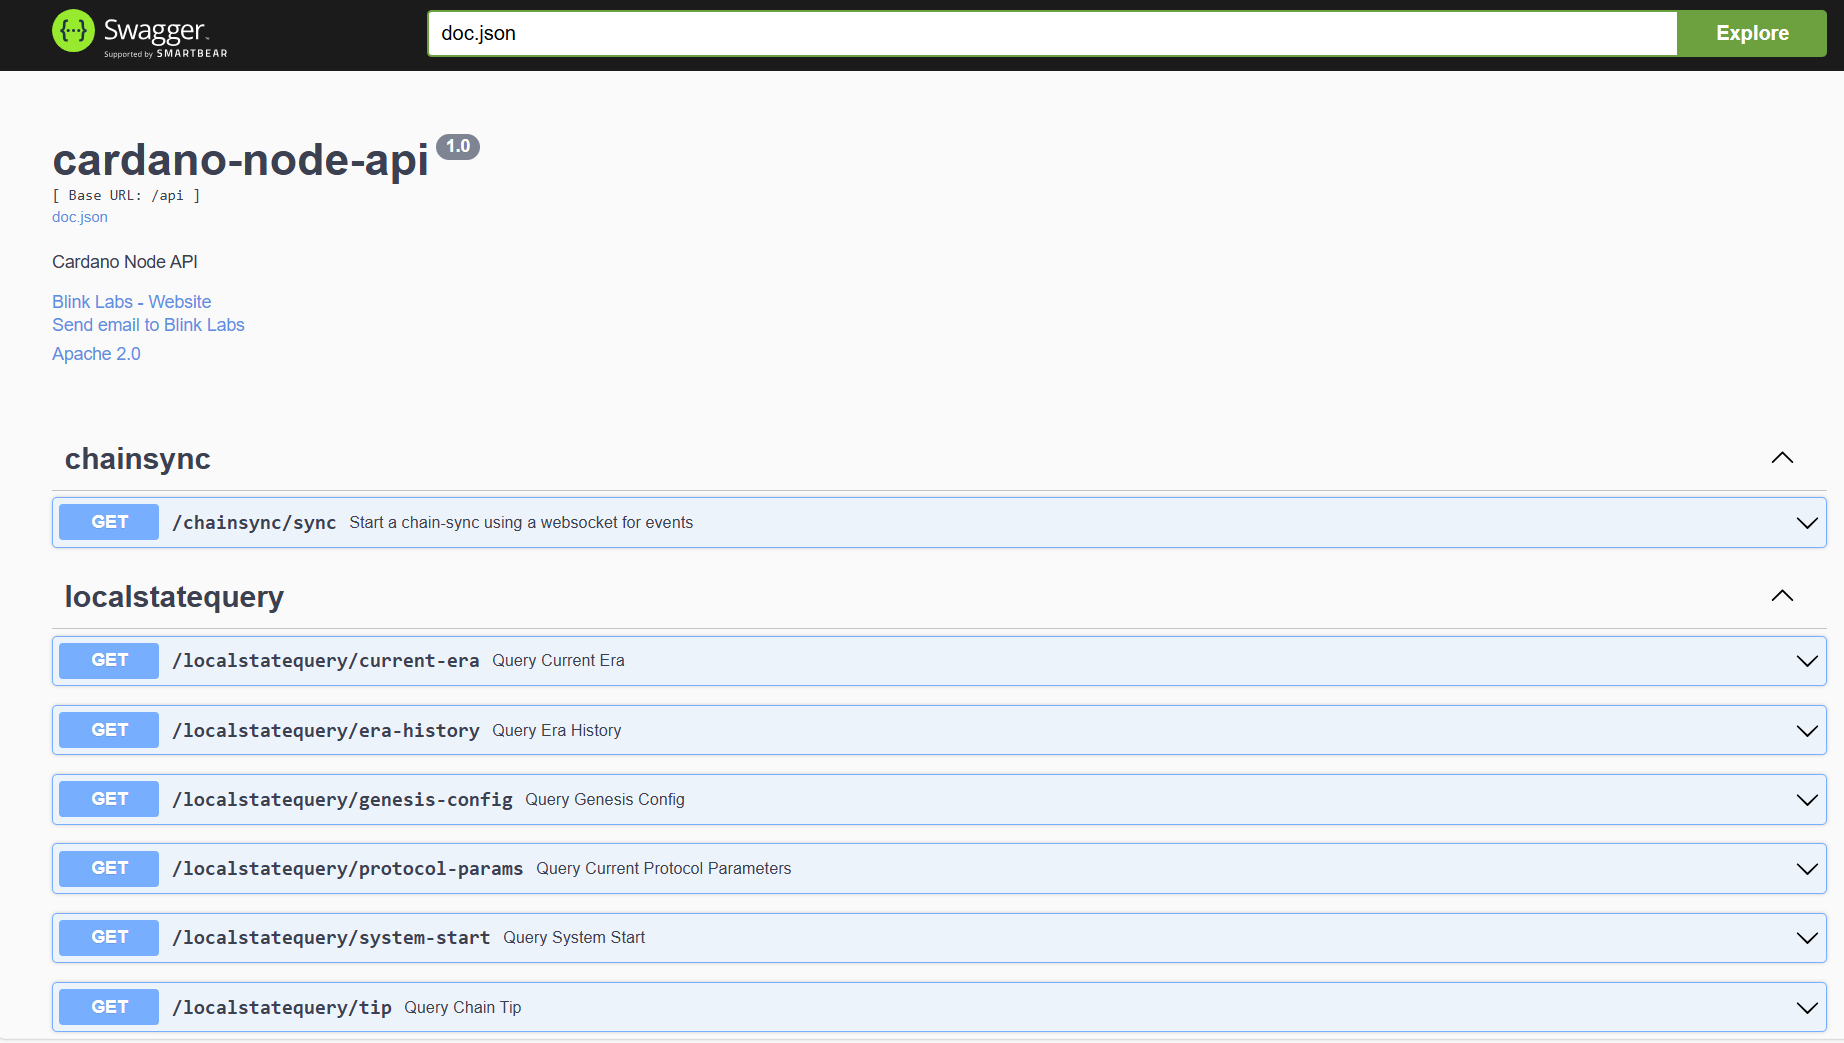
Congratulations you are ready to start using Cardano Node API!
Section titled “Congratulations you are ready to start using Cardano Node API!”Learn more about UTxO RPC https://utxorpc.org