
Using on Windows
Adder is a packaged desktop application that runs in the system tray and provides a streamlined, user‑friendly experience for monitoring Cardano blockchain activity.
Install and Configure
Section titled “Install and Configure”Step 1.1 - Download the Adder Installer
Section titled “Step 1.1 - Download the Adder Installer”The easiest way to install Adder on Windows is by using the MSI installer available at https://blinklabs.io/projects-open-source.
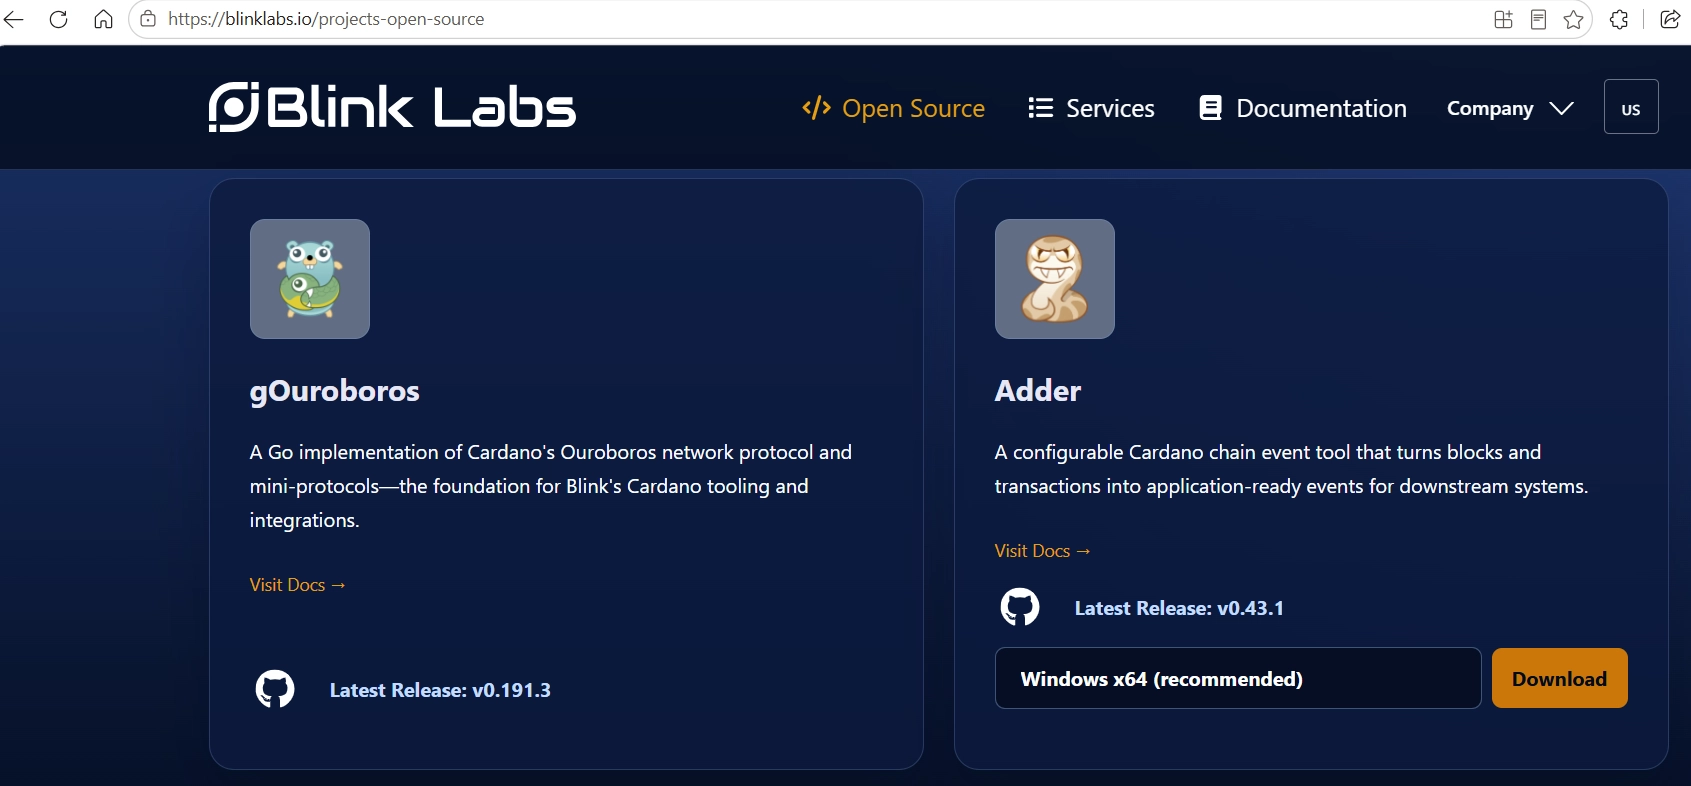
Select the appropriate version for your system (Windows x64 or Windows arm64).
Step 1.2 - Once the download is complete, click Open to open the .msi file.
Section titled “Step 1.2 - Once the download is complete, click Open to open the .msi file.”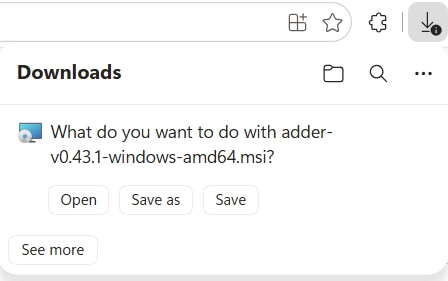
Step 1.3 - Then click Run to start the installation.
Section titled “Step 1.3 - Then click Run to start the installation.”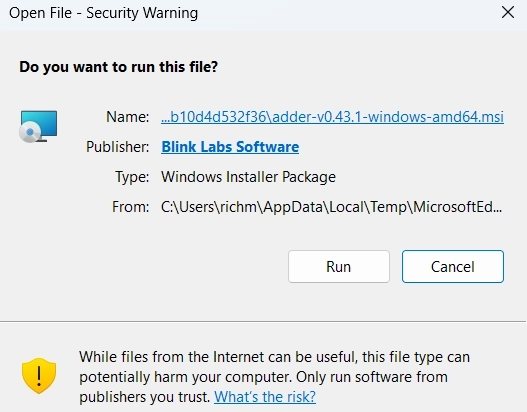
Step 2 - Launch Adder
Section titled “Step 2 - Launch Adder”Step 2.1 - Open the Windows Start Menu.
Section titled “Step 2.1 - Open the Windows Start Menu.”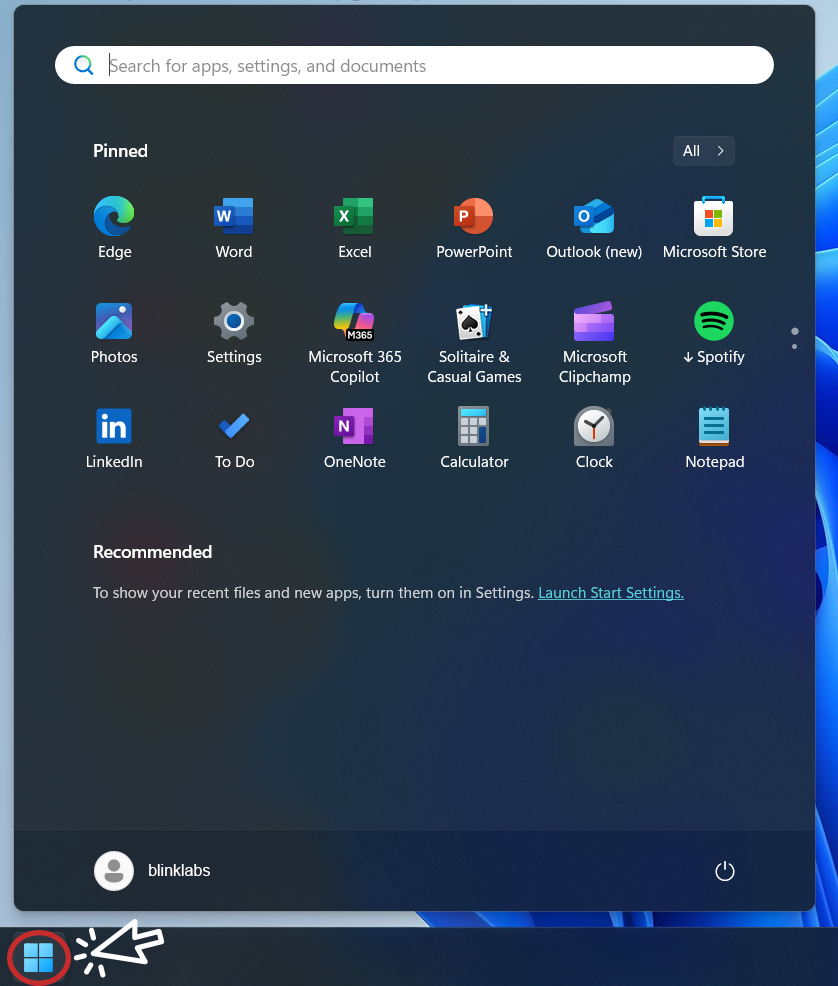
Step 2.2 - Search for Adder
Section titled “Step 2.2 - Search for Adder”Search for the Adder app and open it.
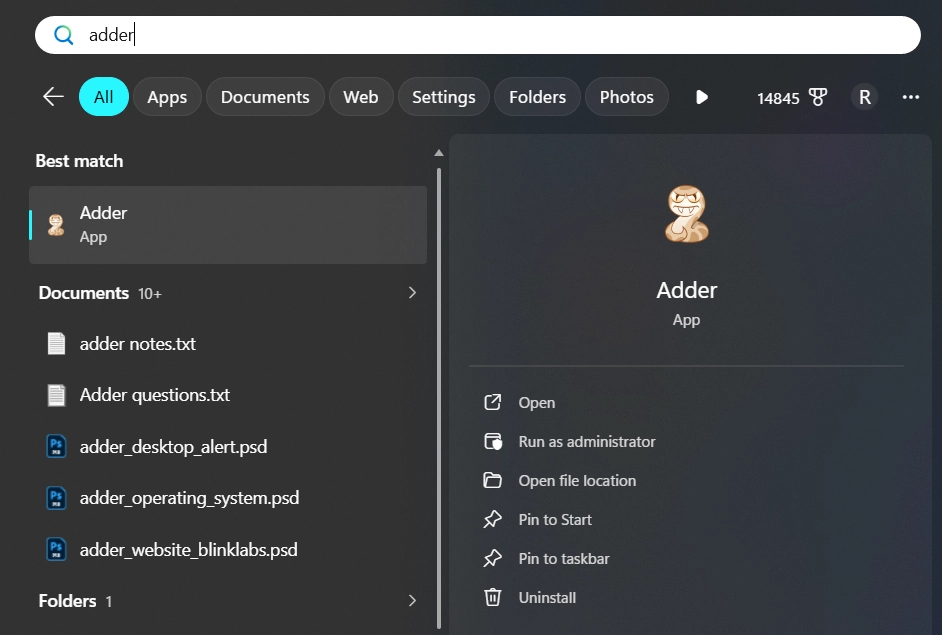
If you don’t see the configuration Welcome screen, open your system tray, right-click the Adder app, and select Configure to open the setup wizard.
Step 3 - Configure Adder
Section titled “Step 3 - Configure Adder”Once you open the Adder Tray App, you will see the Welcome screen, which will guide you through the steps to configure Adder and set up the alerts you want to receive.
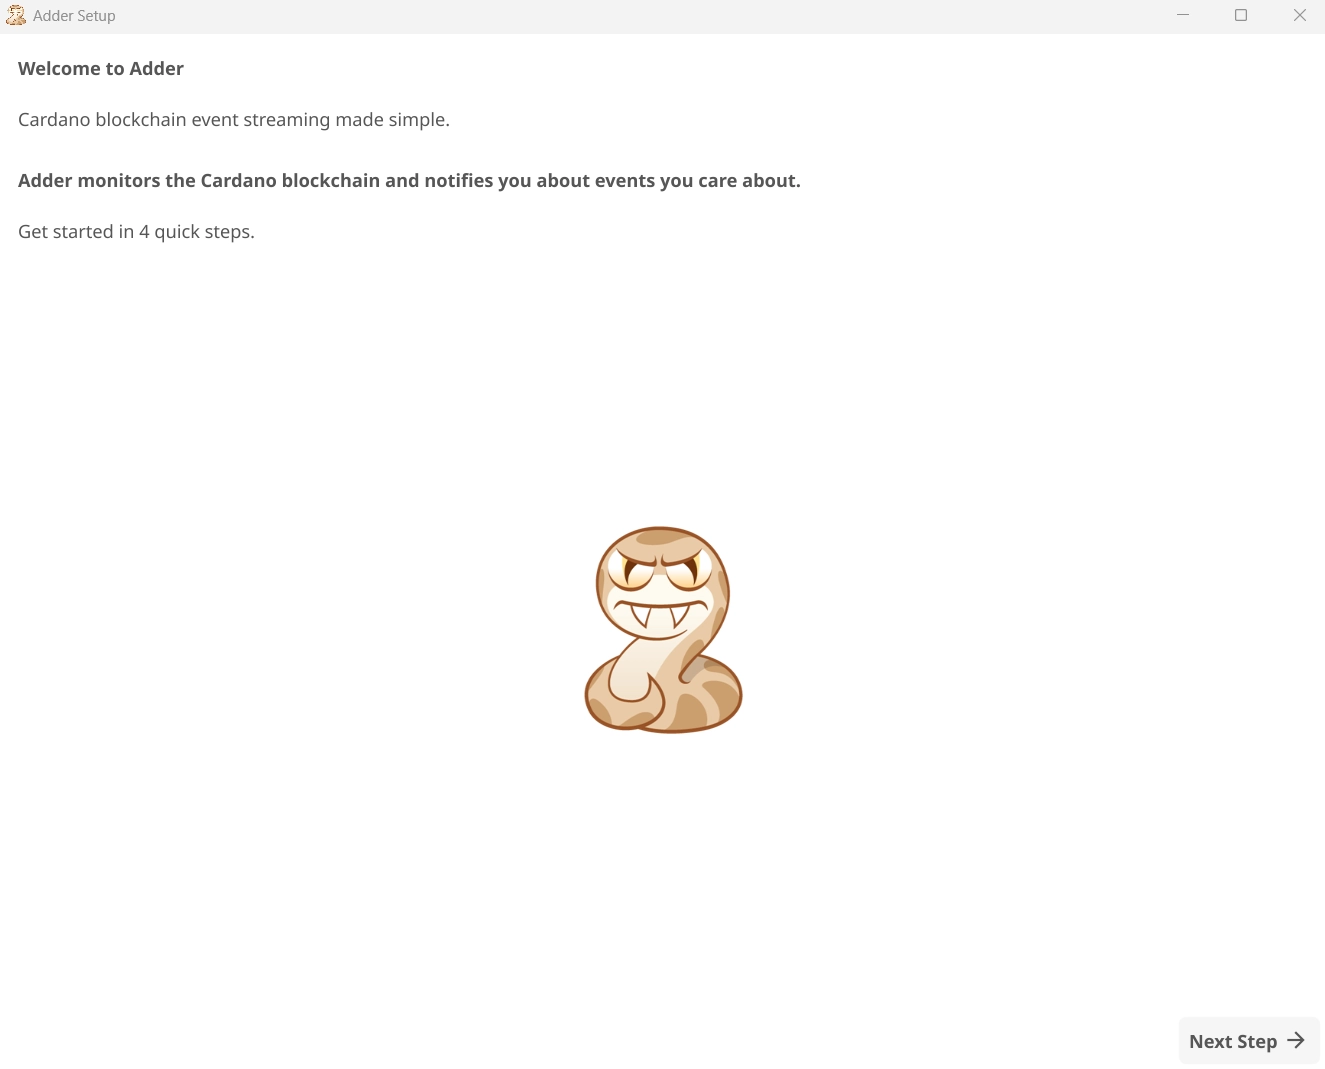
Step 3.1 - Select a Cardano network that you want to monitor.
Section titled “Step 3.1 - Select a Cardano network that you want to monitor.”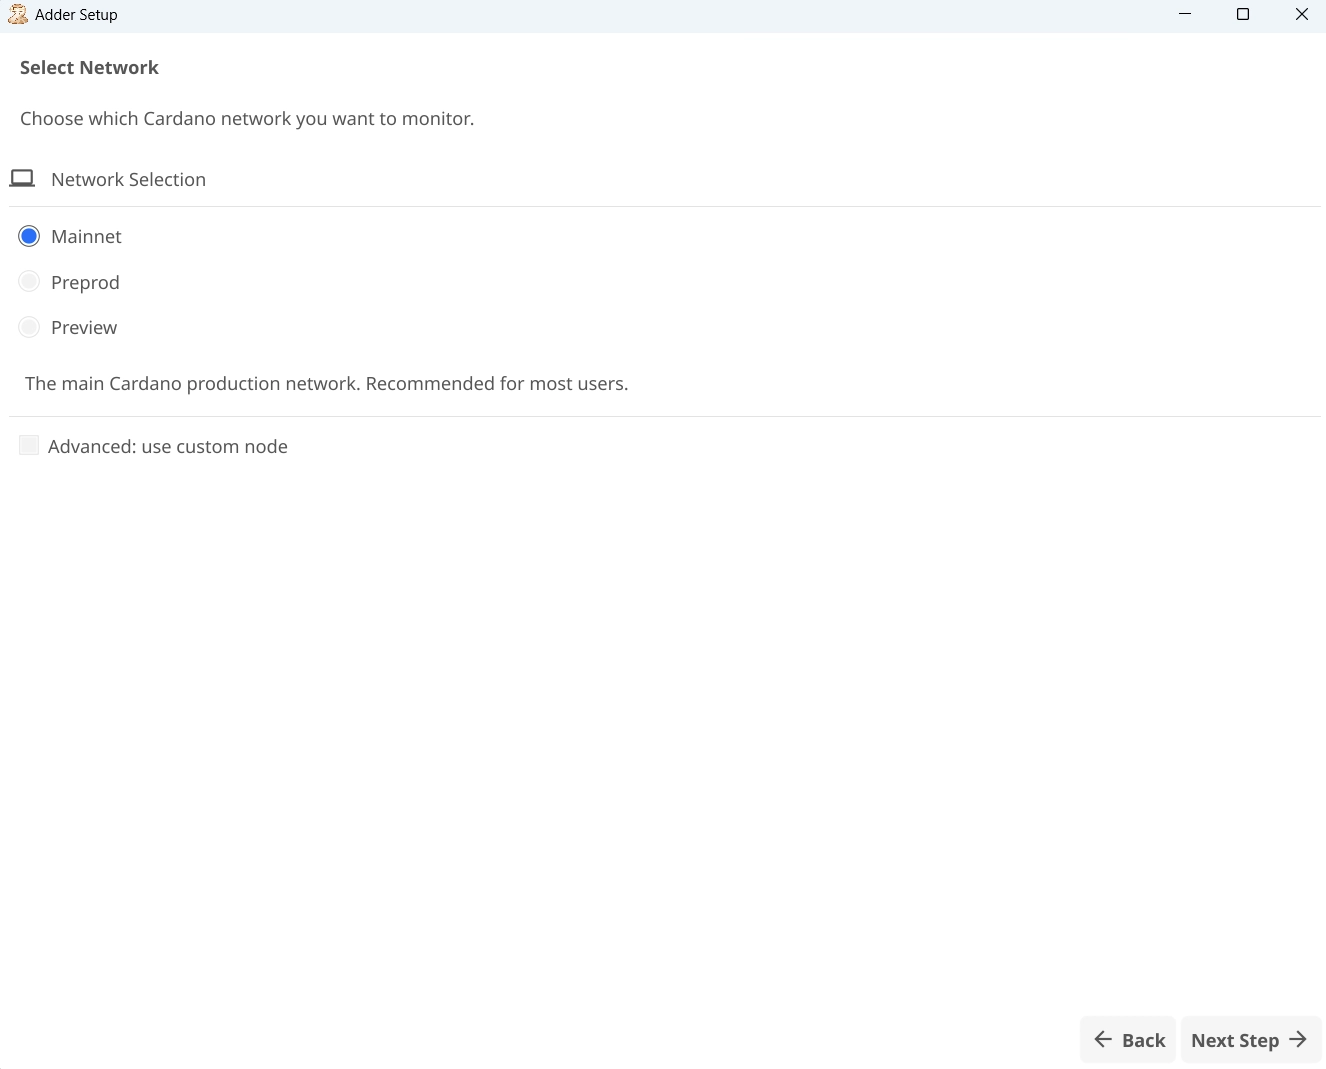
Step 3.2 - Add Your Monitoring Targets
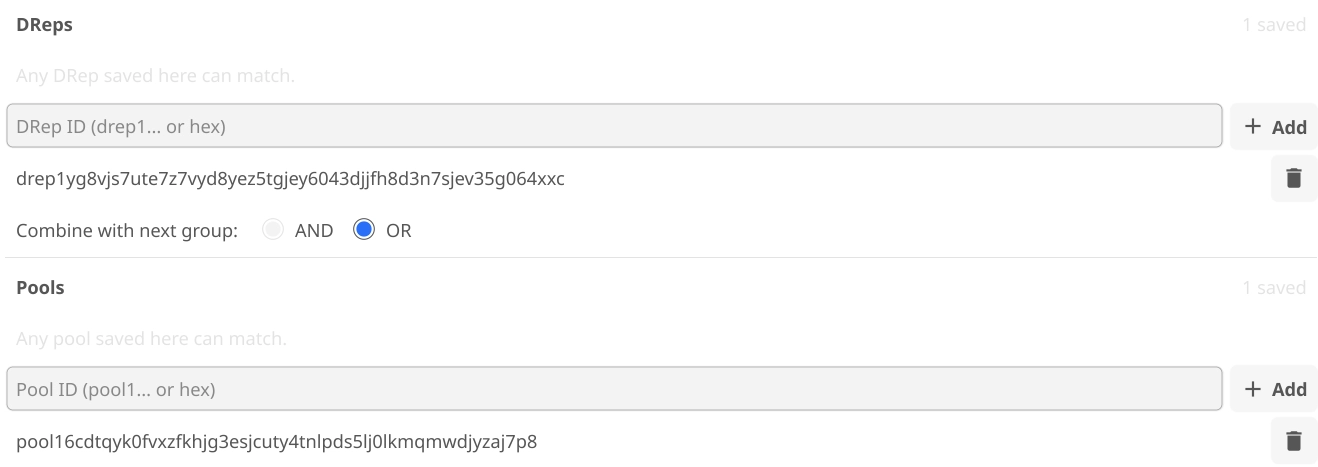
Section titled “Step 3.2 - Add Your Monitoring Targets”Enter the information that you would like to monitor. For example, Wallet Address, Policy ID, Asset Fingerprint, Pool ID, and/or DRep ID.
For this example, we will enter a Pool ID and a DRep ID that we want to follow.
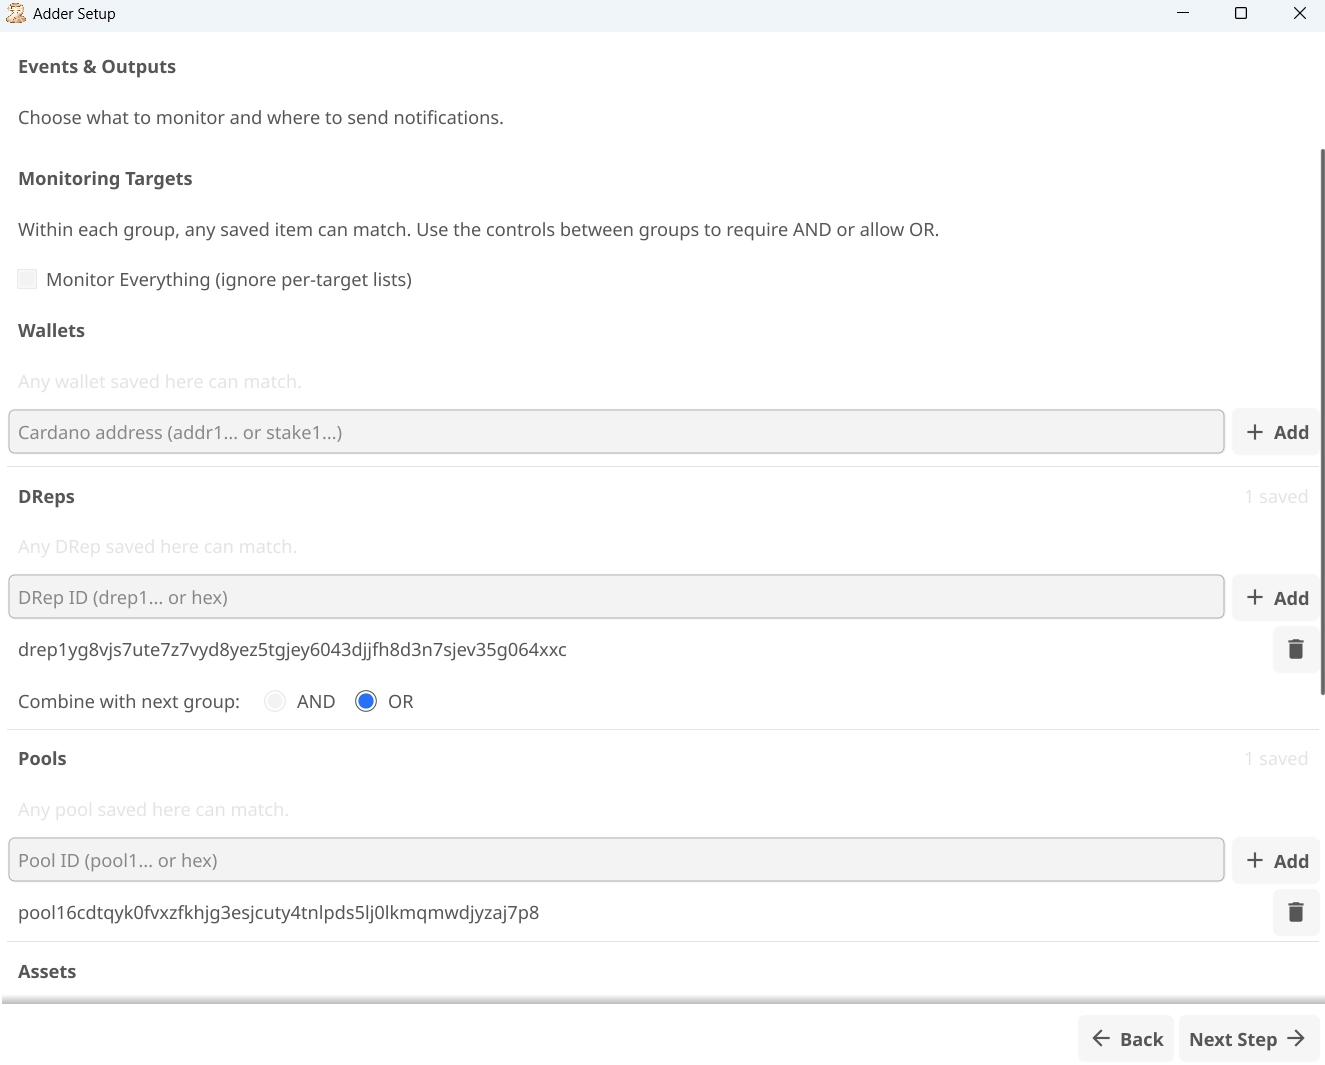
Select OR to receive an alert if either the Pool or DRep performs an event you have selected to track.
Step 3.3 - Notification Output (Optional)
Section titled “Step 3.3 - Notification Output (Optional)”Adder is already configured to provide desktop notifications. You can select other notification methods if you choose.
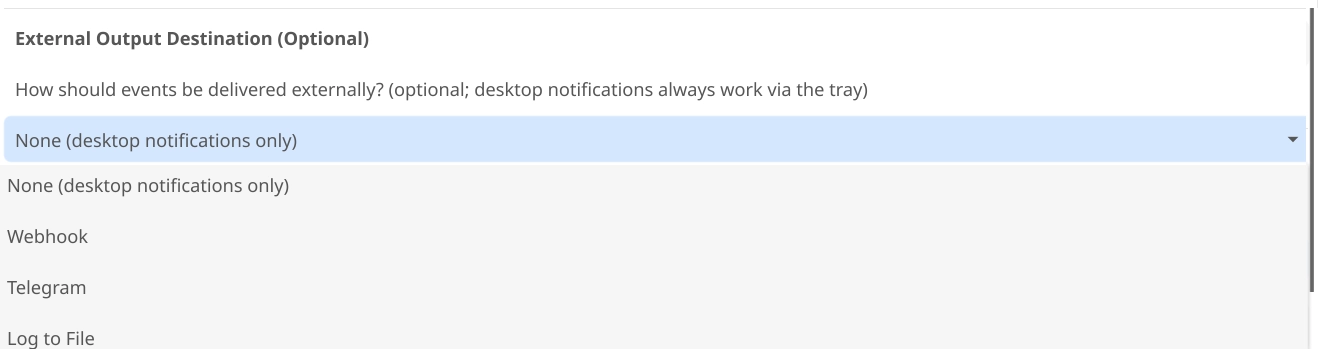
Then click Next Step
Step 3.4 - Event Alerts
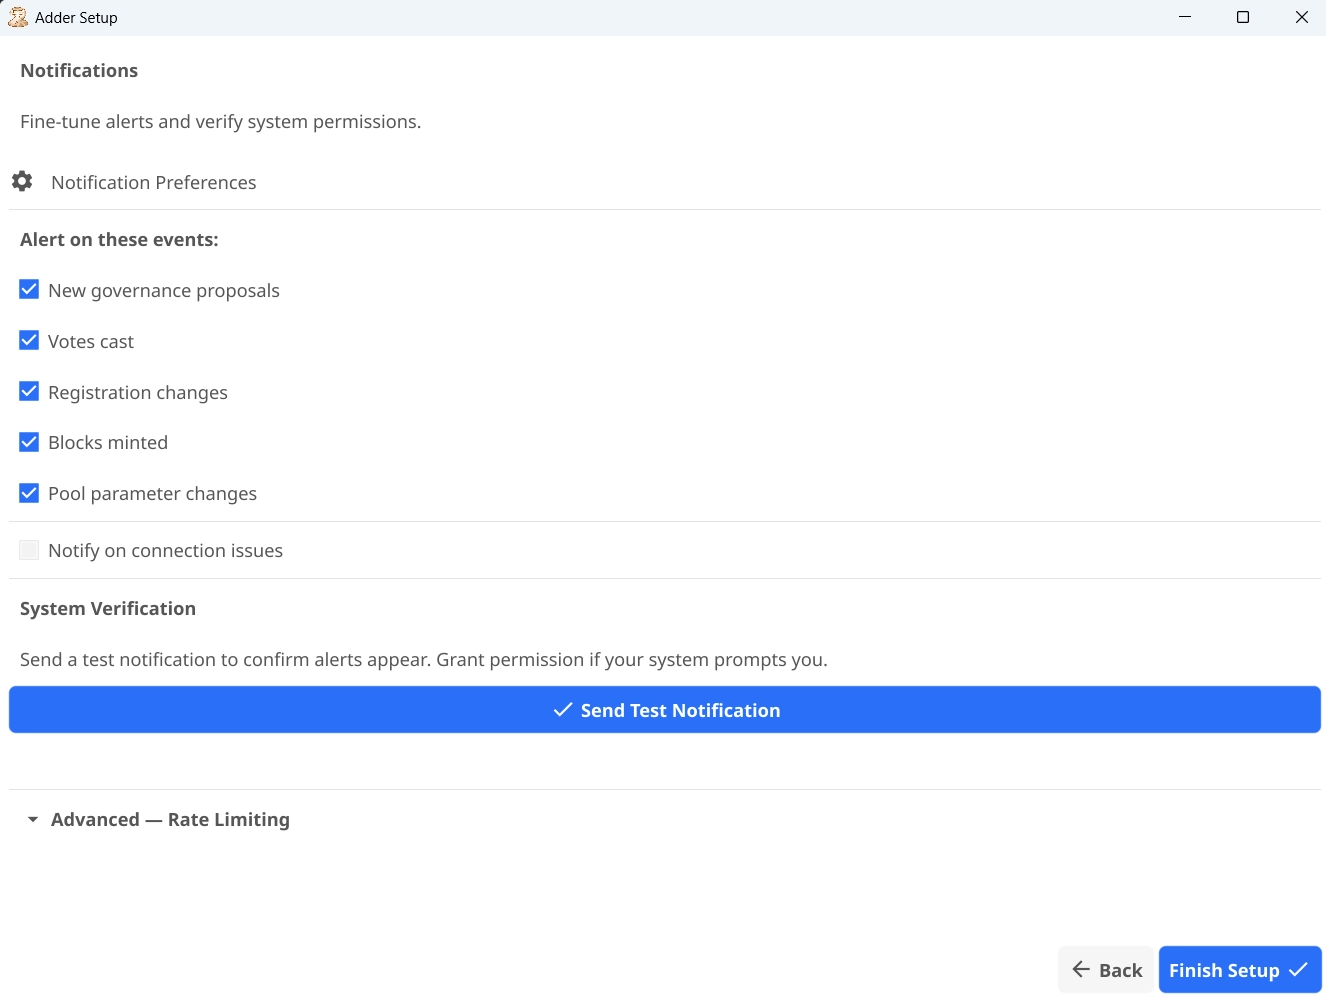
Section titled “Step 3.4 - Event Alerts”Select the checkboxes for the events for which you would like to receive a desktop alert.
Step 3.5 - Send a Test Notification
Section titled “Step 3.5 - Send a Test Notification”Click Test Notification to confirm that you are receiving desktop alerts.
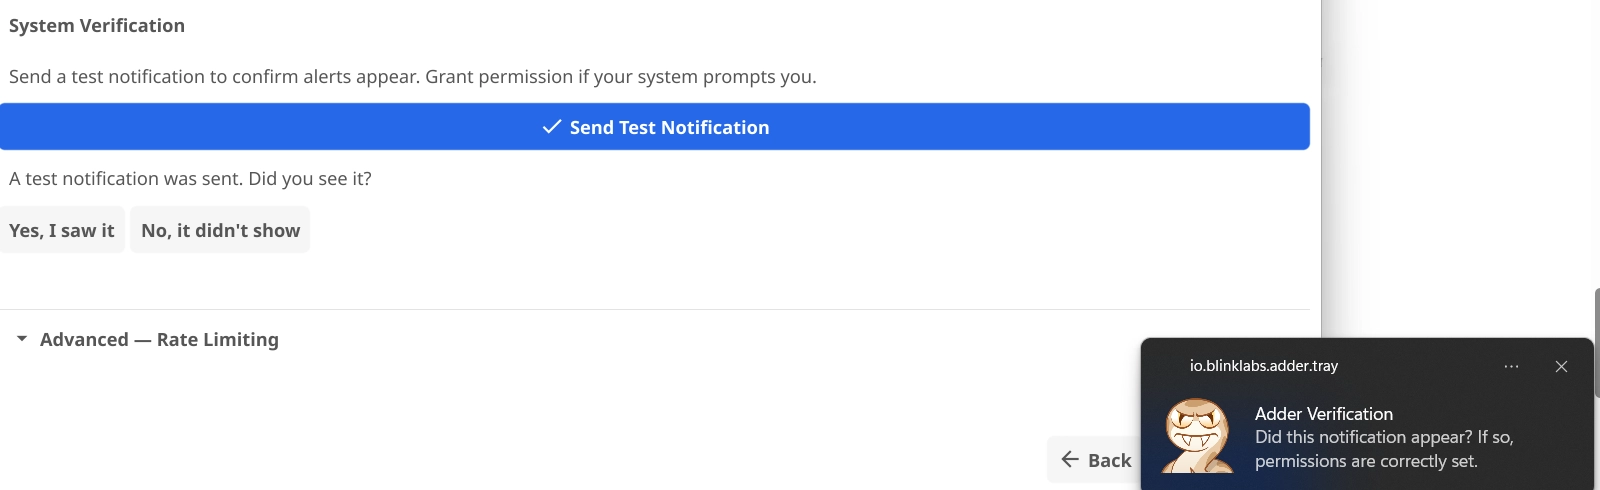
If you see the notification, click Yes, I saw it.
Step 3.6 - Finish Setup
Section titled “Step 3.6 - Finish Setup”Click Finish Setup.
Congratulations! Adder will now alert you when an event that you have selected to track occurs.
Section titled “Congratulations! Adder will now alert you when an event that you have selected to track occurs.”Using the Tray Menu
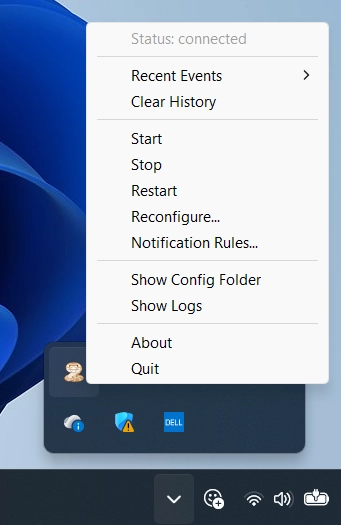
Section titled “Using the Tray Menu”If you want to view recent events, adjust the configuration, or start, stop, or restart the app, you can right-click the Adder app in your system tray to adjust the settings as needed.

Docs authored by Doc Holiday