Quick Start Guide
A Cardano blockchain data node written in Go which actively participates in network communications on the Cardano blockchain using the Ouroboros Network Node-to-Node family of mini-protocols.
⚠️ This is a work in progress and is currently under heavy development
For this guide we will walk you through downloading the Dingo binary and all the steps necessary to get the Dingo node running on the Cardano Preview network. To get started follow the steps below.
✅ This guide assumes typical Linux setup. Please adjust commands and paths as needed.
Step 1 - Download binary from Blinklabs
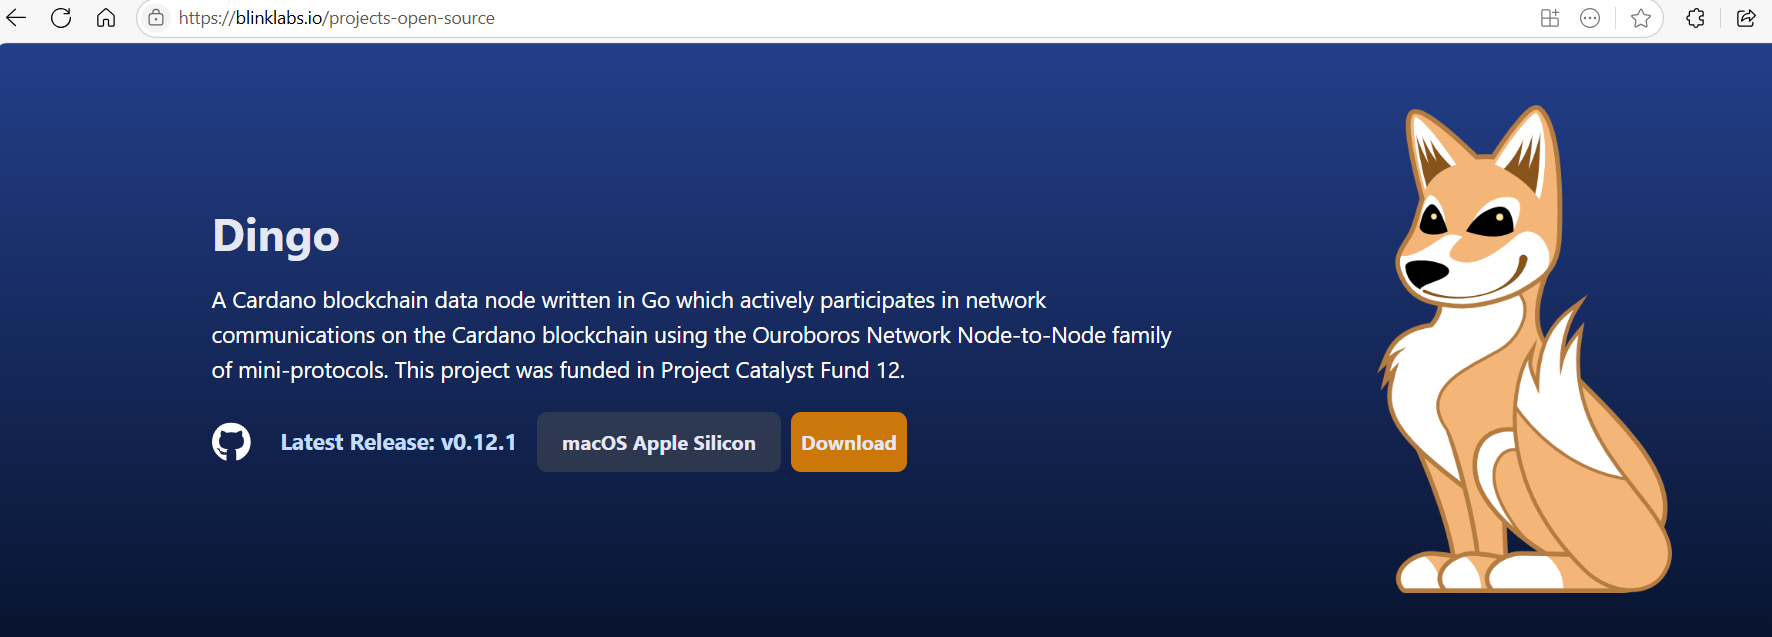
Section titled “Step 1 - Download binary from Blinklabs”Step 1-A - First start by going to https://blinklabs.io/projects-open-source and scroll down to Dingo.
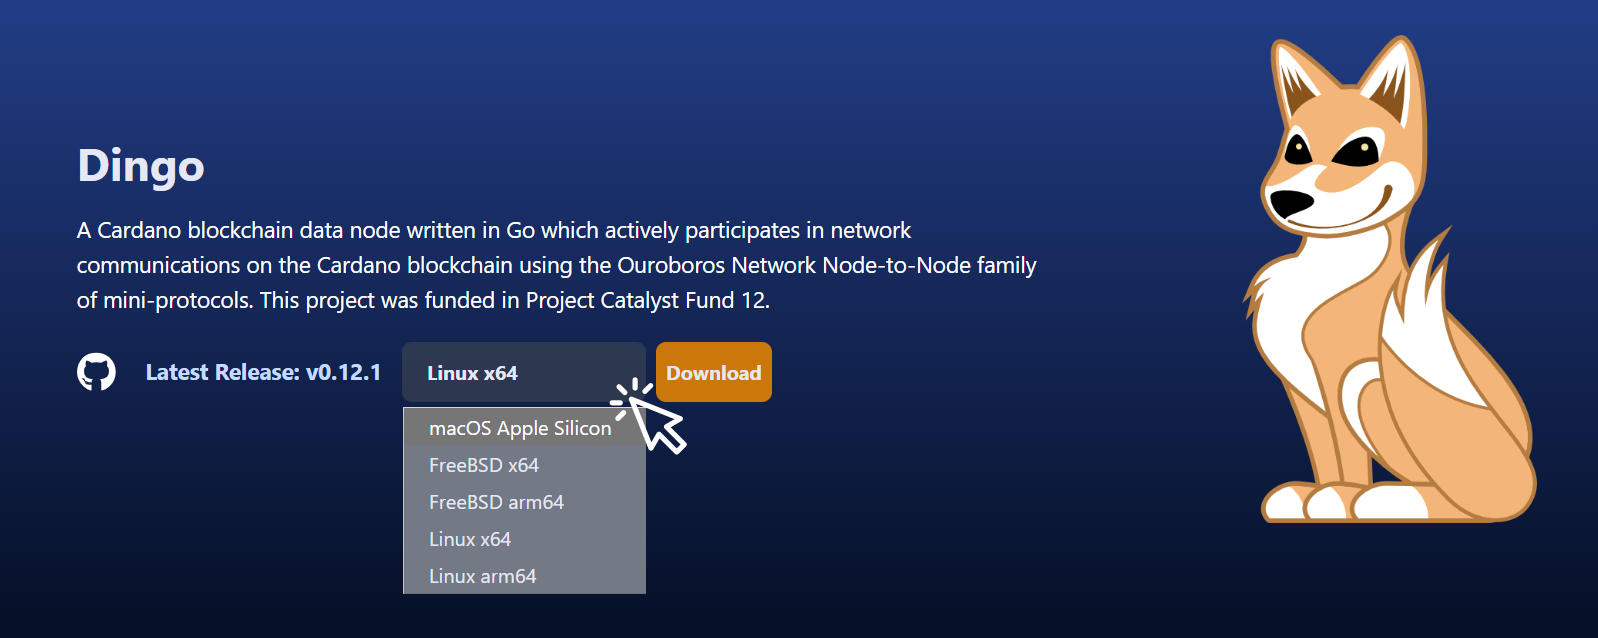
Step 1-B - Select the operating system that you want to use to run Dingo.
Step 1-C - You can either download the binary file and move the file to your preferred location or…
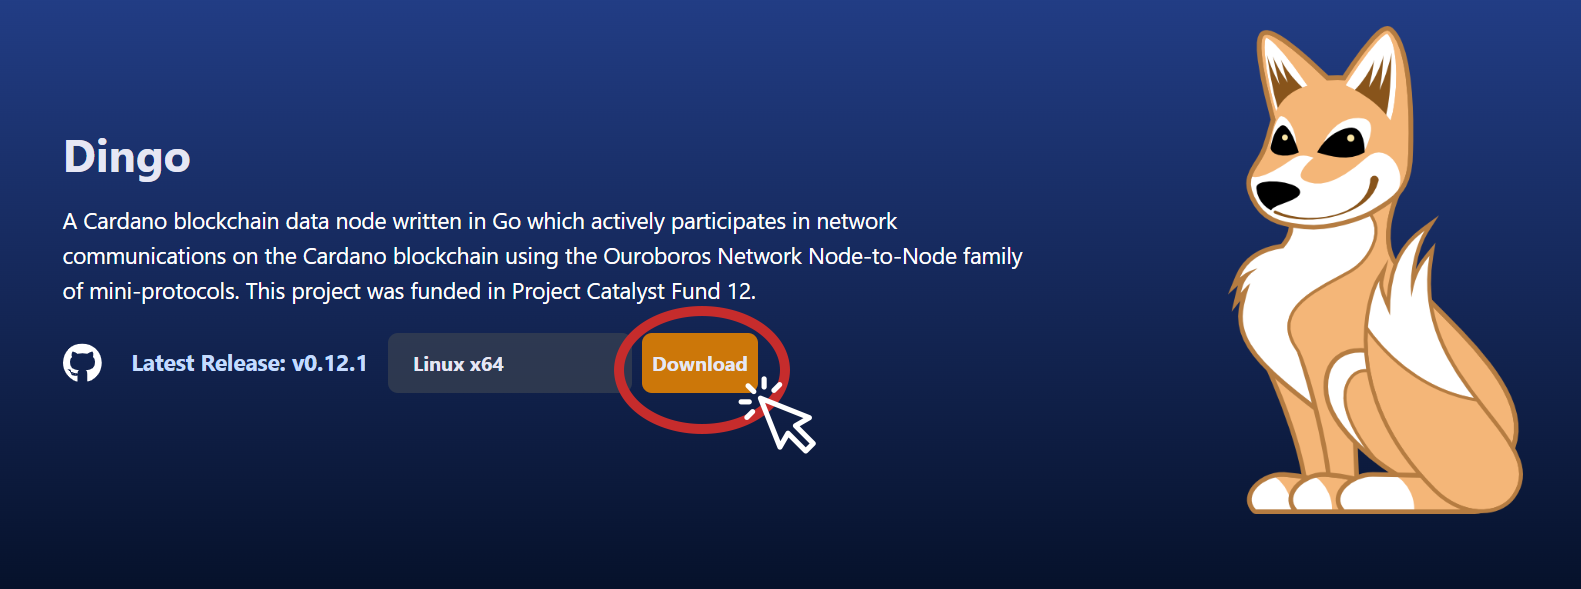
Copy the path from Blinklabs and run the following command to download the binary file.
⚠️ Adjust the link path to the correct path for the version you want to download.
💡 Tip: You can download the latest Dingo release from the https://github.com/blinklabs-io/dingo/releases page.
We will first make a dingo directory for all our dingo related files before downloading the Dingo binary.
mkdir dingocd dingowget https://github.com/blinklabs-io/dingo/releases/download/v0.15.1/dingo-v0.15.1-linux-amd64.tar.gz -O - | tar -xzBest Practices - Files Needed to Run Dingo
Section titled “Best Practices - Files Needed to Run Dingo”The following files are needed to run Dingo. We will walk through the steps to download and edit the files in the next few steps.
- dingo.yaml
- Node Config
- Node Topology
- Byron Genesis
- Shelley Genesis
- Alonzo Genesis
- Conway Genesis
Step 2 - Download dingo.yaml Example File
Section titled “Step 2 - Download dingo.yaml Example File”For this guide we will use the dingo.yaml file. We will download it to our main dingo directory by using the following command:
wget -O - https://raw.githubusercontent.com/blinklabs-io/dingo/refs/heads/main/dingo.yaml.example > dingo.yamlStep 3 - Create Directory and Download Configuration Files
Section titled “Step 3 - Create Directory and Download Configuration Files”We will create a directory to store our Cardano Configuration Files. For this example, the file structure we will create is /config/cardano/preview/ by running the following command in our dingo directory:
mkdir -p config/cardano/previewNow we will navigate to the config/cardano/preview folder and download the Cardano Configuration Files
cd config/cardano/previewWe will now download the Cardano Preview Testnet Non-block-producers config file by running:
wget https://book.play.dev.cardano.org/environments/preview/config.jsonNext, we will download the Preview Testnet Topology file by running:
wget https://book.play.dev.cardano.org/environments/preview/topology.json✅ For this example we will use the default topology file, as seen below, just to get the node running and synced. Dingo supports all current and legacy topology files.
{ "bootstrapPeers": [ { "address": "preview-node.play.dev.cardano.org", "port": 3001 } ], "localRoots": [ { "accessPoints": [], "advertise": false, "trustable": false, "valency": 1 } ], "publicRoots": [ { "accessPoints": [], "advertise": false } ], "useLedgerAfterSlot": 73267000}Lastly, we will download the Byron, Shelley, Alonzo, and Conway Genesis files
wget https://book.play.dev.cardano.org/environments/preview/byron-genesis.json \https://book.play.dev.cardano.org/environments/preview/shelley-genesis.json \https://book.play.dev.cardano.org/environments/preview/alonzo-genesis.json \https://book.play.dev.cardano.org/environments/preview/conway-genesis.json💡 Tip: Cardano Configuration Files can be found at https://book.play.dev.cardano.org/environments.html
Step 4 - Edit dingo.yaml File
Section titled “Step 4 - Edit dingo.yaml File”Now that we have the configuration files needed, we will edit the dingo.yaml file to point to the right directories and files. To edit this file, we will run:
cd ~/dingonano dingo.yaml✅ For this example, we save the dingo.yaml file to our main dingo directory so we will use
cd ~/dingoto return to that directory, please adjust path and file name if needed.
Add paths to dingo.yaml
Section titled “Add paths to dingo.yaml”We will add a path to our topology file and double check our path to our Cardano config.json file. If you used a different path than ./config/cardano/preview please adjust as needed.
# Example config file for dingo# The values shown below correspond to the in-code defaults
# Public bind address for the Dingo serverbindAddr: "0.0.0.0"
# Path to the Cardano node configuration file## Can be overridden with the config environment variablecardanoConfig: "./config/cardano/preview/config.json"
# A directory which contains the ledger database filesdatabasePath: ".dingo"
# Path to the UNIX domain socket file used by the serversocketPath: "dingo.socket"
# Name of the Cardano networknetwork: "preview"
# TLS certificate file path (for HTTPS)## Can be overridden with the TLS_CERT_FILE_PATH environment variabletlsCertFilePath: ""
# TLS key file path (for HTTPS)## Can be overridden with the TLS_KEY_FILE_PATH environment variabletlsKeyFilePath: ""
# Path to the topology configuration file for Cardano nodetopology: "./config/cardano/preview/topology.json"
# TCP port to bind for Prometheus metrics endpointmetricsPort: 12798
# Internal/private address to bind for listening for Ouroboros NtCprivateBindAddr: "127.0.0.1"
# TCP port to bind for listening for Ouroboros NtCprivatePort: 3002
# TCP port to bind for listening for Ouroboros NtN## Can be overridden with the port environment variablerelayPort: 3001
# TCP port to bind for listening for UTxO RPCutxorpcPort: 9090
# Ignore prior chain history and start from current tip (default: false)# This is experimental and may break — use with cautionintersectTip: false
# Maximum cache size in bytes used by BadgerDB for block/index cache# Default: 1073741824 (1 GB)badgerCacheSize: 1073741824
# Maximum total size (in bytes) of all transactions allowed in the mempool.# Transactions exceeding this limit will be rejected.# Default: 1048576 (1 MB)mempoolCapacity: 1048576
Step 5 - Open Ports
Section titled “Step 5 - Open Ports”We will cover how to list and add UFW firewall rules to add the ports needed. Adjust as needed.
💡Tip: UFW stands for Uncomplicated Firewall and is used for managing iptables (netfilter) firewall rules.
To see which ports are currently open we can run:
sudo ufw status numberedAdd Port 3001 for Ouroboros Node to Node (NtN) Communication
Section titled “Add Port 3001 for Ouroboros Node to Node (NtN) Communication”In order for us to sync the chain and pass data between nodes we need to open port 3001 or whatever port you selected. To open port 3001 we will run:
sudo ufw allow 3001/tcpAdd Port 9090 for UTxO RPC (Optional)
Section titled “Add Port 9090 for UTxO RPC (Optional)”You might want to also add port 9090 or whatever port you selected for UTxO RPC if you want to access chain data or transactions. We can open port 9090 by running:
⚠️ Caution exposing this port outside of your local machine.
sudo ufw allow 9090/tcpStep 6 - Bootstrap syncing Blockchain using Mithril Client (Optional)
Section titled “Step 6 - Bootstrap syncing Blockchain using Mithril Client (Optional)”We can speed up the initial syncing of the blocks also known as a block replay by using the Mithril Client to download a Mithril snapshot. This could save you hours of syncing time.
Step 6.1 - Create Mithril folder
Section titled “Step 6.1 - Create Mithril folder”We will create a folder inside our dingo folder that we will use to download the mithril binary into. To create a folder in our dingo folder we can run:
cd ~/dingomkdir mithrilStep 6.2 - Download Mithril Client
Section titled “Step 6.2 - Download Mithril Client”We can now download the Mithril Client binary by running the following:
⚠️ Adjust the link path to the correct path for the version you want to download.
💡 Tip: You can download the latest Mithril release from the https://github.com/input-output-hk/mithril/releases page.
cd mithrilwget https://github.com/input-output-hk/mithril/releases/download/2524.0/mithril-2524.0-linux-x64.tar.gz -O - | tar -xzStep 6.3 - Export Environment Variables
Section titled “Step 6.3 - Export Environment Variables”We will export the following environment variables to download the Mithril snapshot. Run these commands:
Preview Network variable:
export NETWORK=previewEndpoint variable:
export AGGREGATOR_ENDPOINT=https://aggregator.pre-release-preview.api.mithril.network/aggregatorGenesis verification key variable:
export GENESIS_VERIFICATION_KEY=$(curl -s https://raw.githubusercontent.com/input-output-hk/mithril/main/mithril-infra/configuration/pre-release-preview/genesis.vkey)Step 6.4 - Find Latest Snapshot and Download it
Section titled “Step 6.4 - Find Latest Snapshot and Download it”💡 Tip: Mithril creates the db/ directory in your current folder. In our case, the
mithrilfolder we created.
First, we run the following to get the current list of snapshots
./mithril-client cardano-db snapshot listTo see the current snapshot we run:
./mithril-client cardano-db snapshot show latestDownload the current snapshot by running:
./mithril-client cardano-db download latestThis takes some time, maybe up to 10 minutes on preview based on your system. You can see the progress on screen.
Step 6.5 - Load snapshot into Dingo db
Section titled “Step 6.5 - Load snapshot into Dingo db”Now we can return to our dingo directory by running:
cd ~/dingoWe will now load the Mithril snapshot into dingo by running the following command:
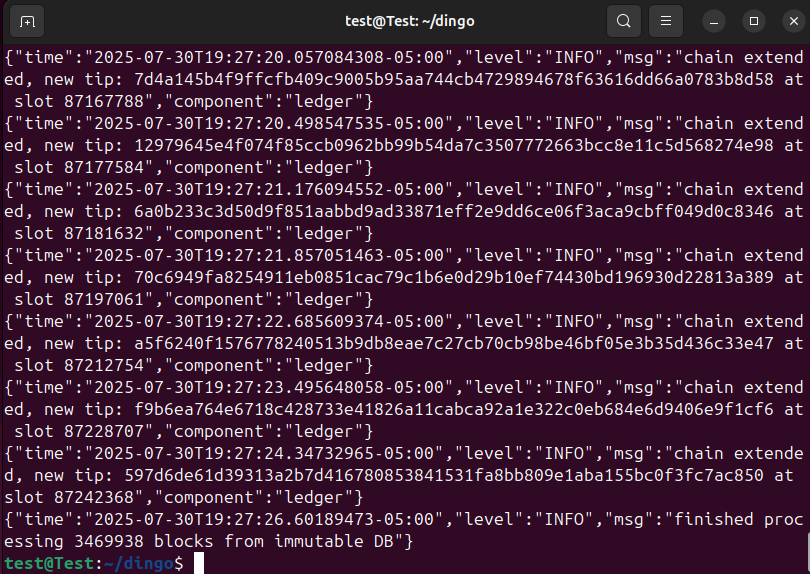
./dingo load ~/dingo/mithril/db/immutableDingo will now load the blocks into the dingo database by copying and loading them by running a ledger replay. This will take some time as well, up to 2 hours depending on your system.
📝 If you choose not to load a Mithril snapshot you can start dingo with the
./dingocommand and let the normal chainsync process start. It will take several more hours than using a Mithril snapshot for the chain to sync.
Interested in using a systemd service to run a Dingo Node to maximize the uptime by automatically restarting the Dingo node when the computer reboots?
Section titled “Interested in using a systemd service to run a Dingo Node to maximize the uptime by automatically restarting the Dingo node when the computer reboots?”See our guide on how to create a startup service for Dingo.